
")
Construction overview:
The first thing to do is buy 2 “food grade” drums. Be careful not to buy drums that were used for toxic materials or trash. You need to burn these barrels for 6 hours minimum to sanitize them. I used all smoke wood when doing this. My neighbor had a ton of apple wood that worked quite well. You will also need to remove all the paint of the drum.
Next, we cut out the door and vents on the bottom. We hinged the door and used electrical box cover with locking washers for the vents.
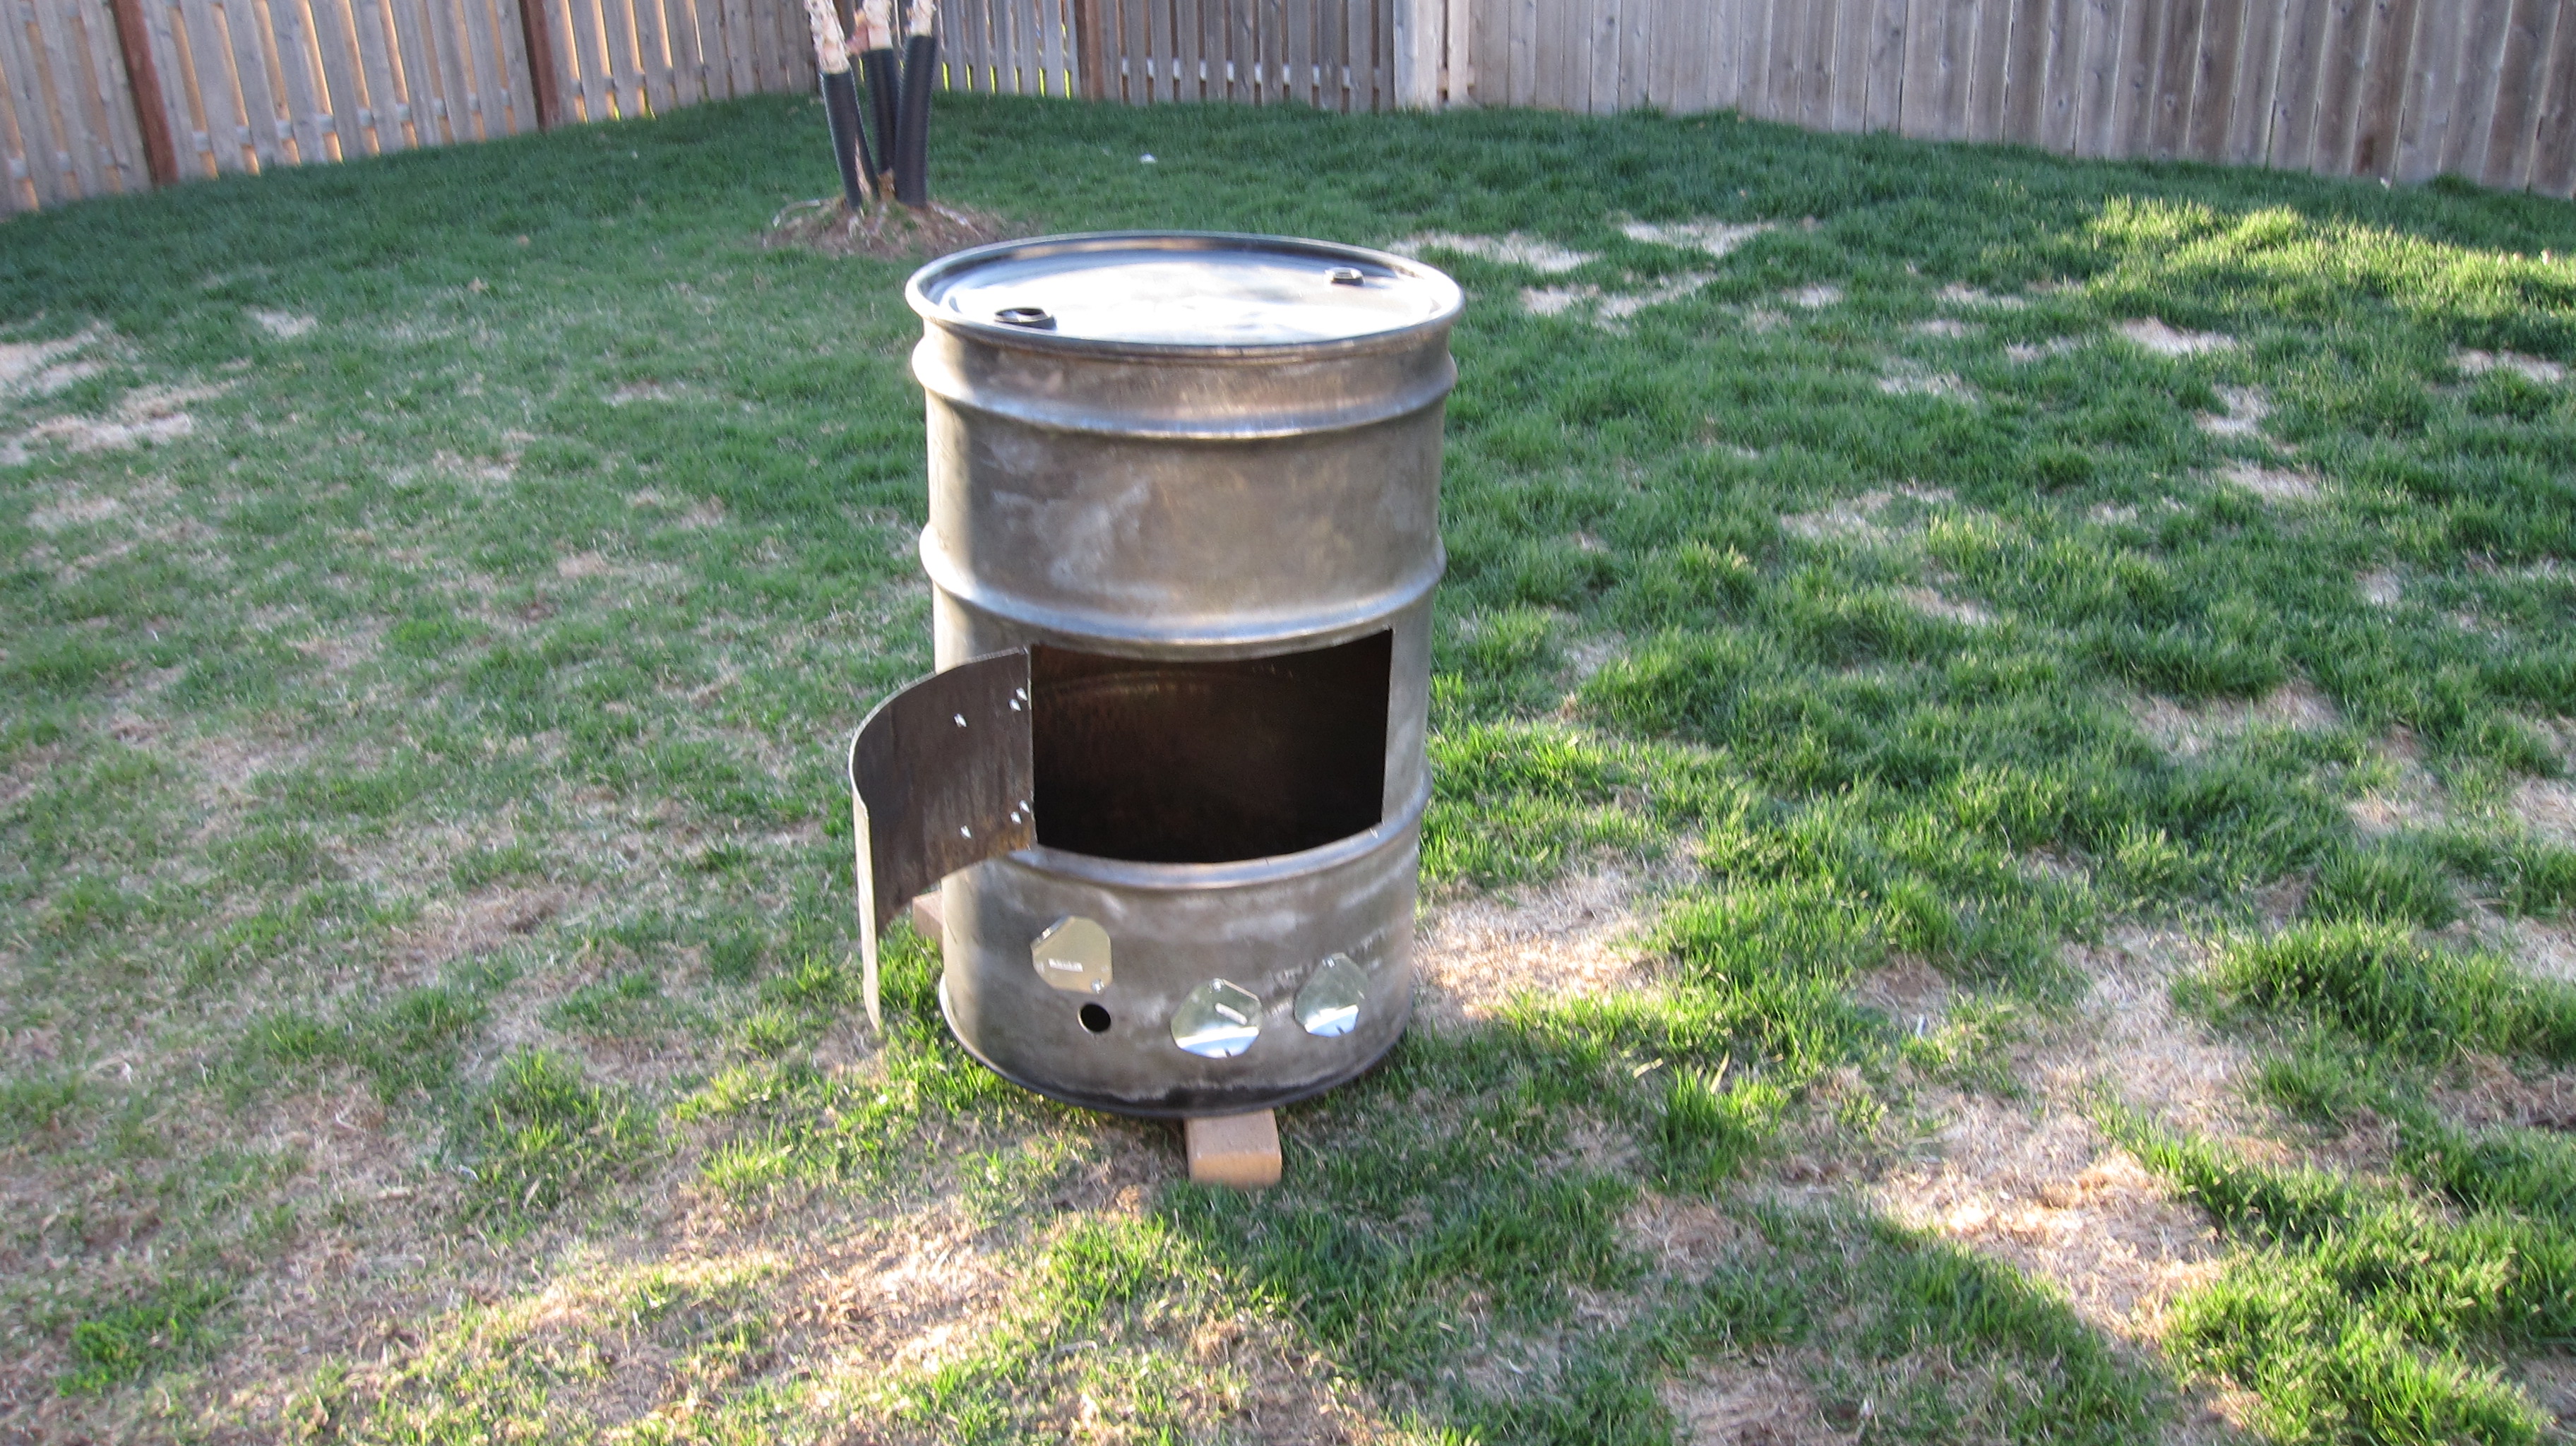 Barrel is ready to paint.
The next step was paint. Use a high temp engine enamel, black is probably the way to go. However, being from husker country, I just had to have 1 of them be a husker smoker. Here, we apply the first coats of paint.
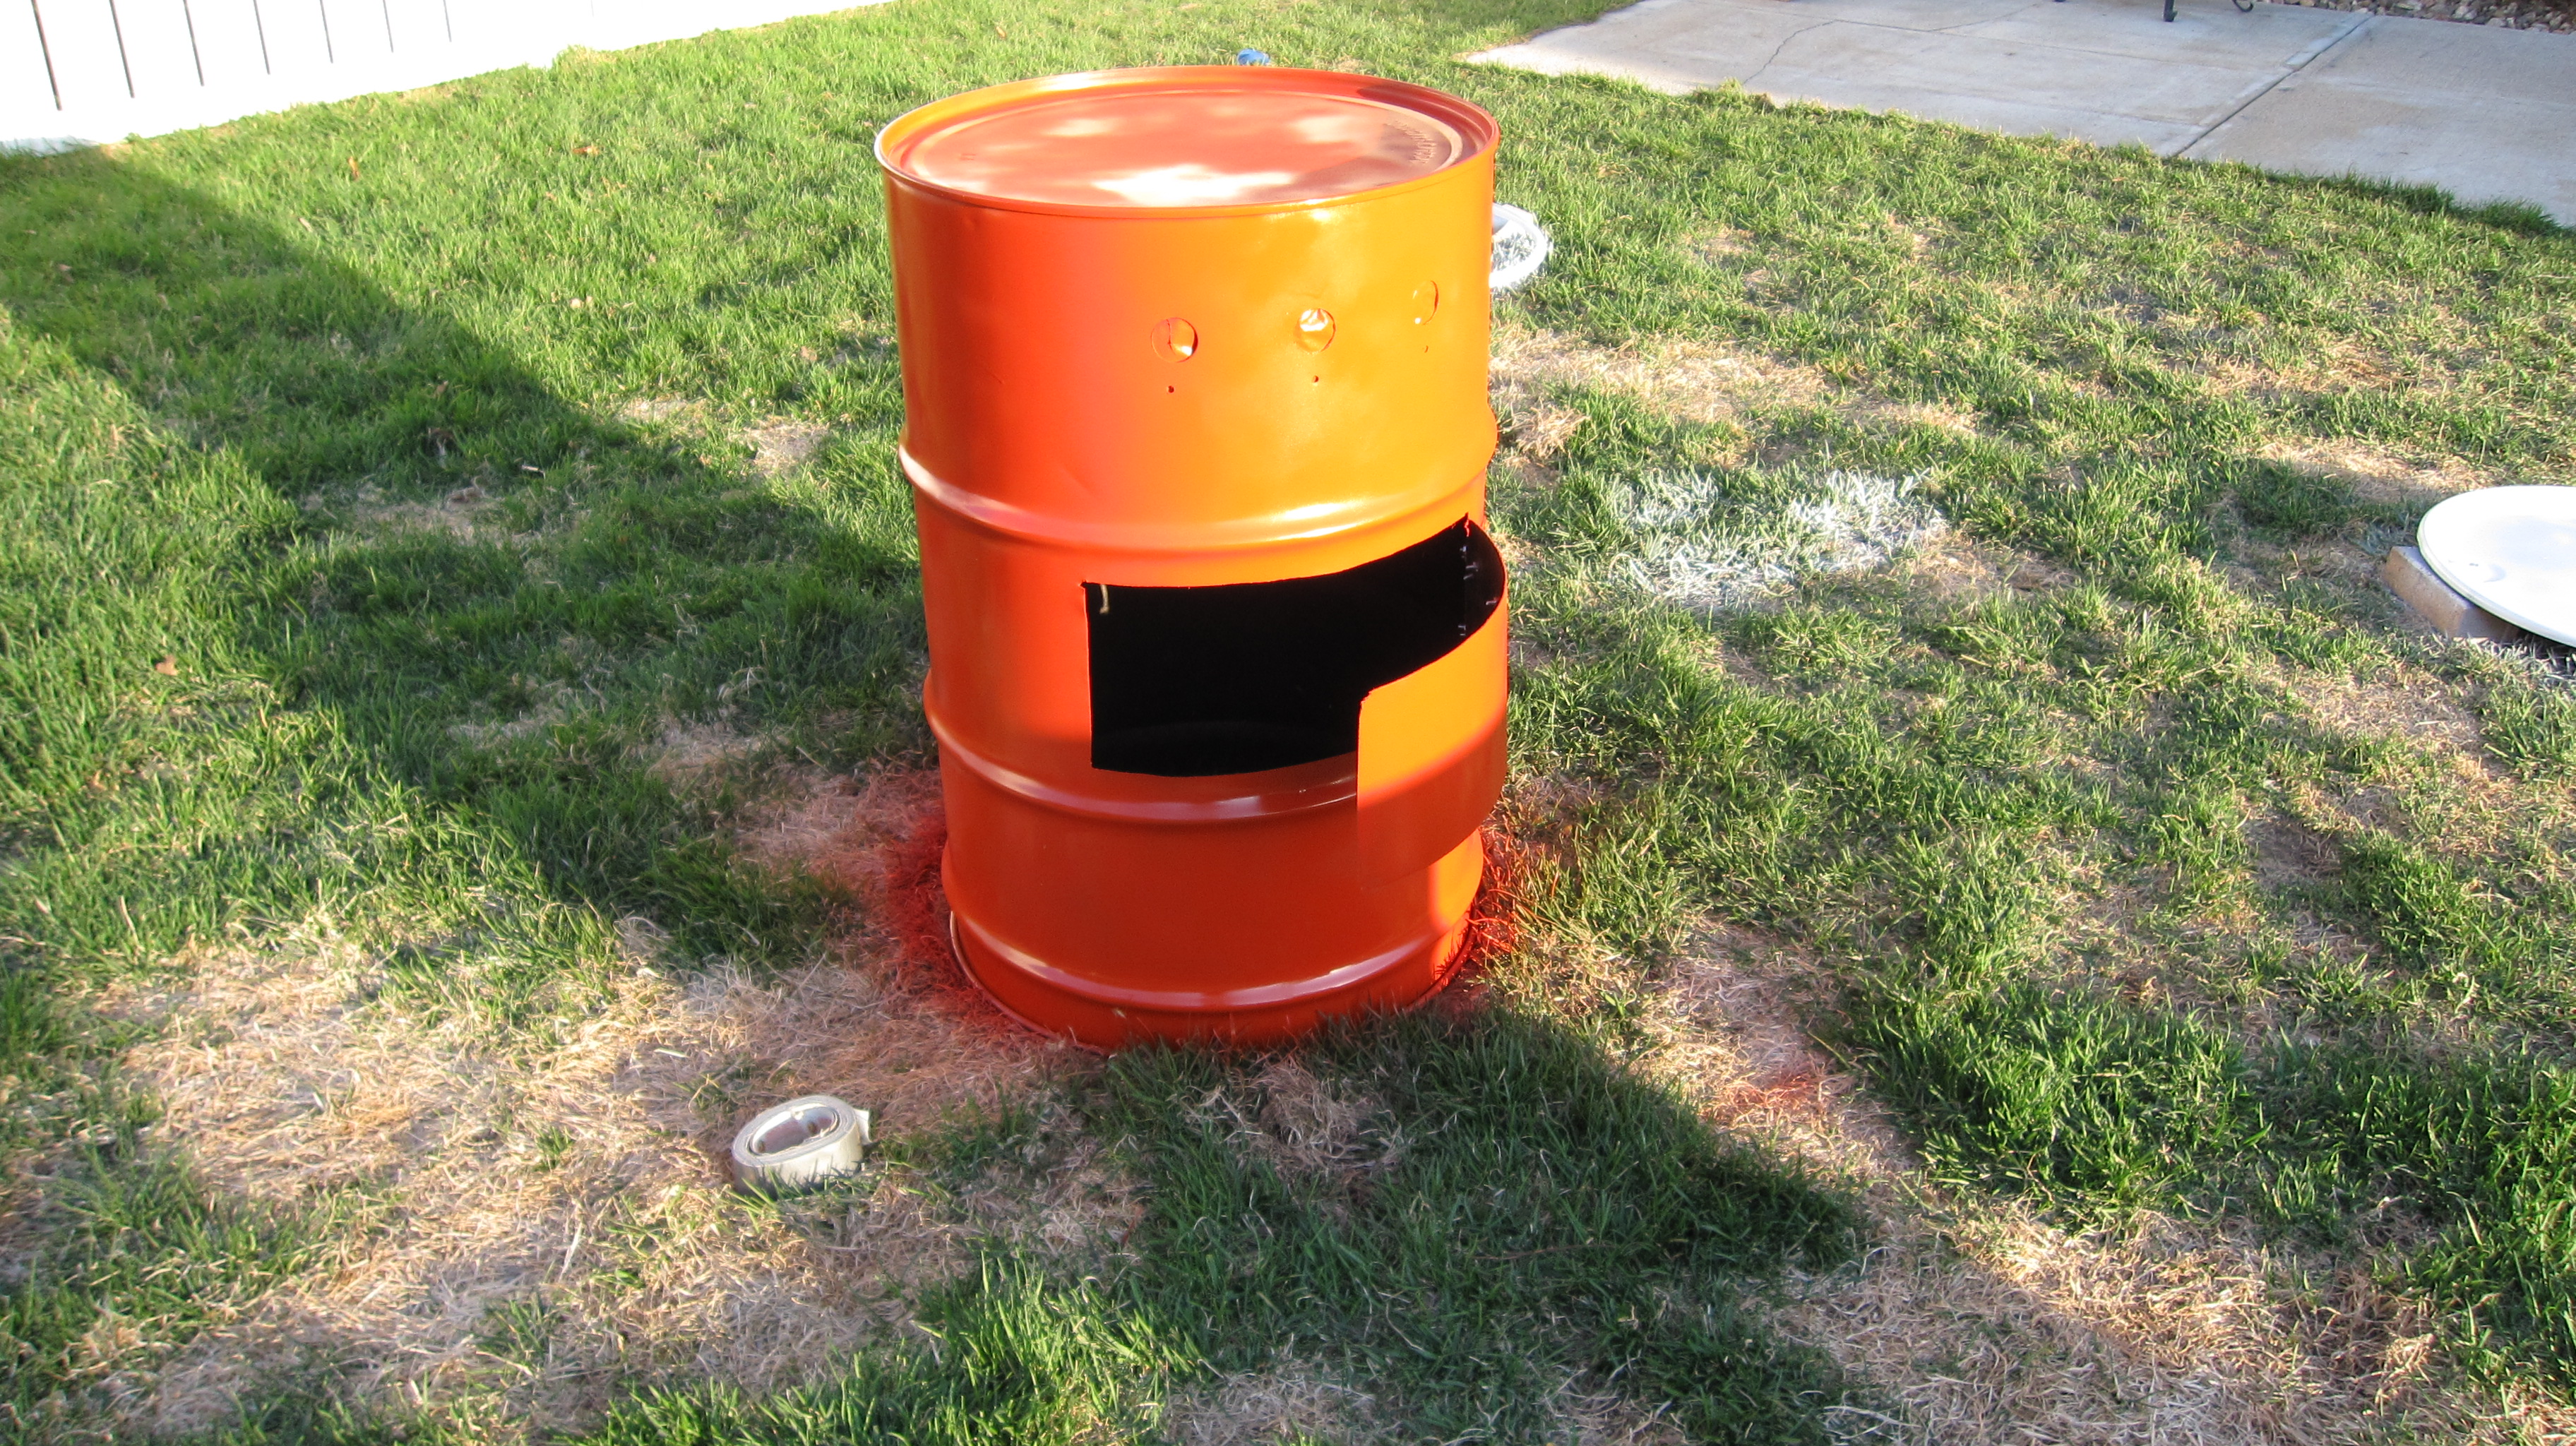 First coat of red paint is on. Looks like a Longhorn Burnt orange, but don’t worry, it will dry to a more powerful Husker Red.
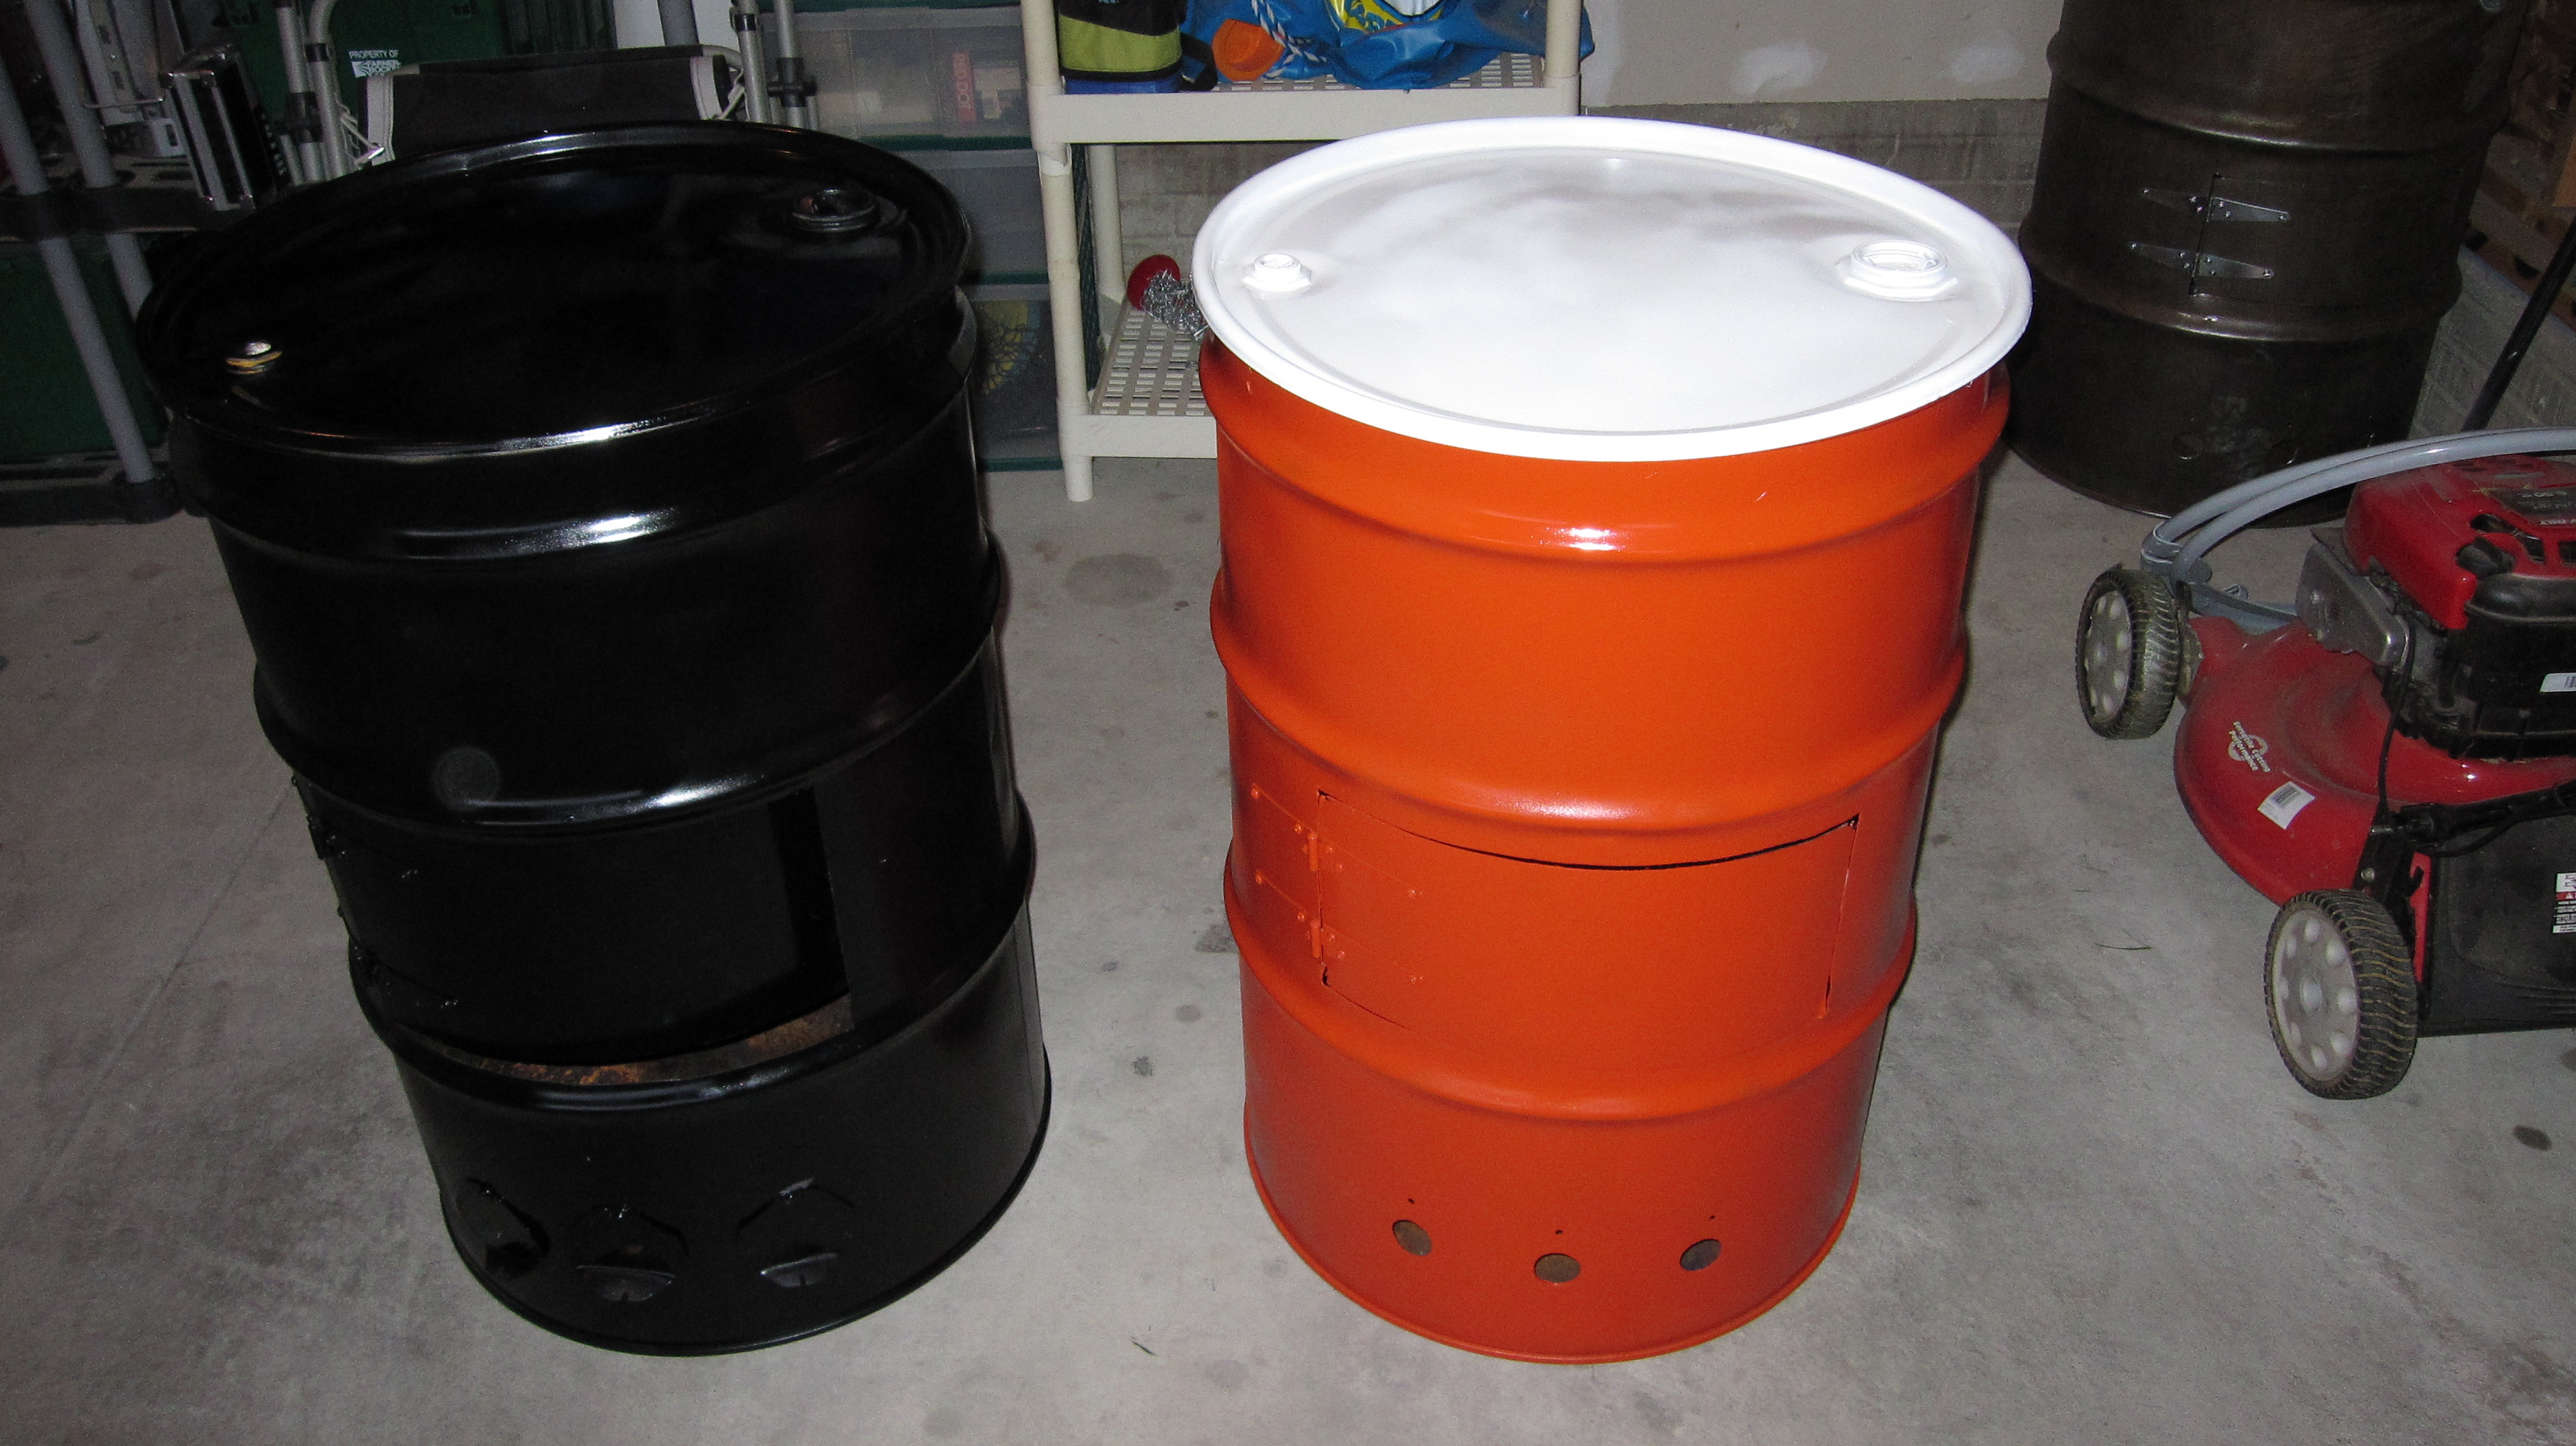 Still drying, but looking better.
After the paint dried, the fun began. I’ll spare you the step by step instructions, but in a nut shell, we added the casters, lined the inside of the barrel with fire brick (for insulation, efficiency) using bbq mortar, added the grates, the diffusion plate (a round piece of stainless steel with lots of holes. This sits right above the coals and prevents the flames from hitting the meat), added a stack, and finally a thermometer.
The last step would making the charcoal basket. My father in law Dan whipped up some awesome baskets.
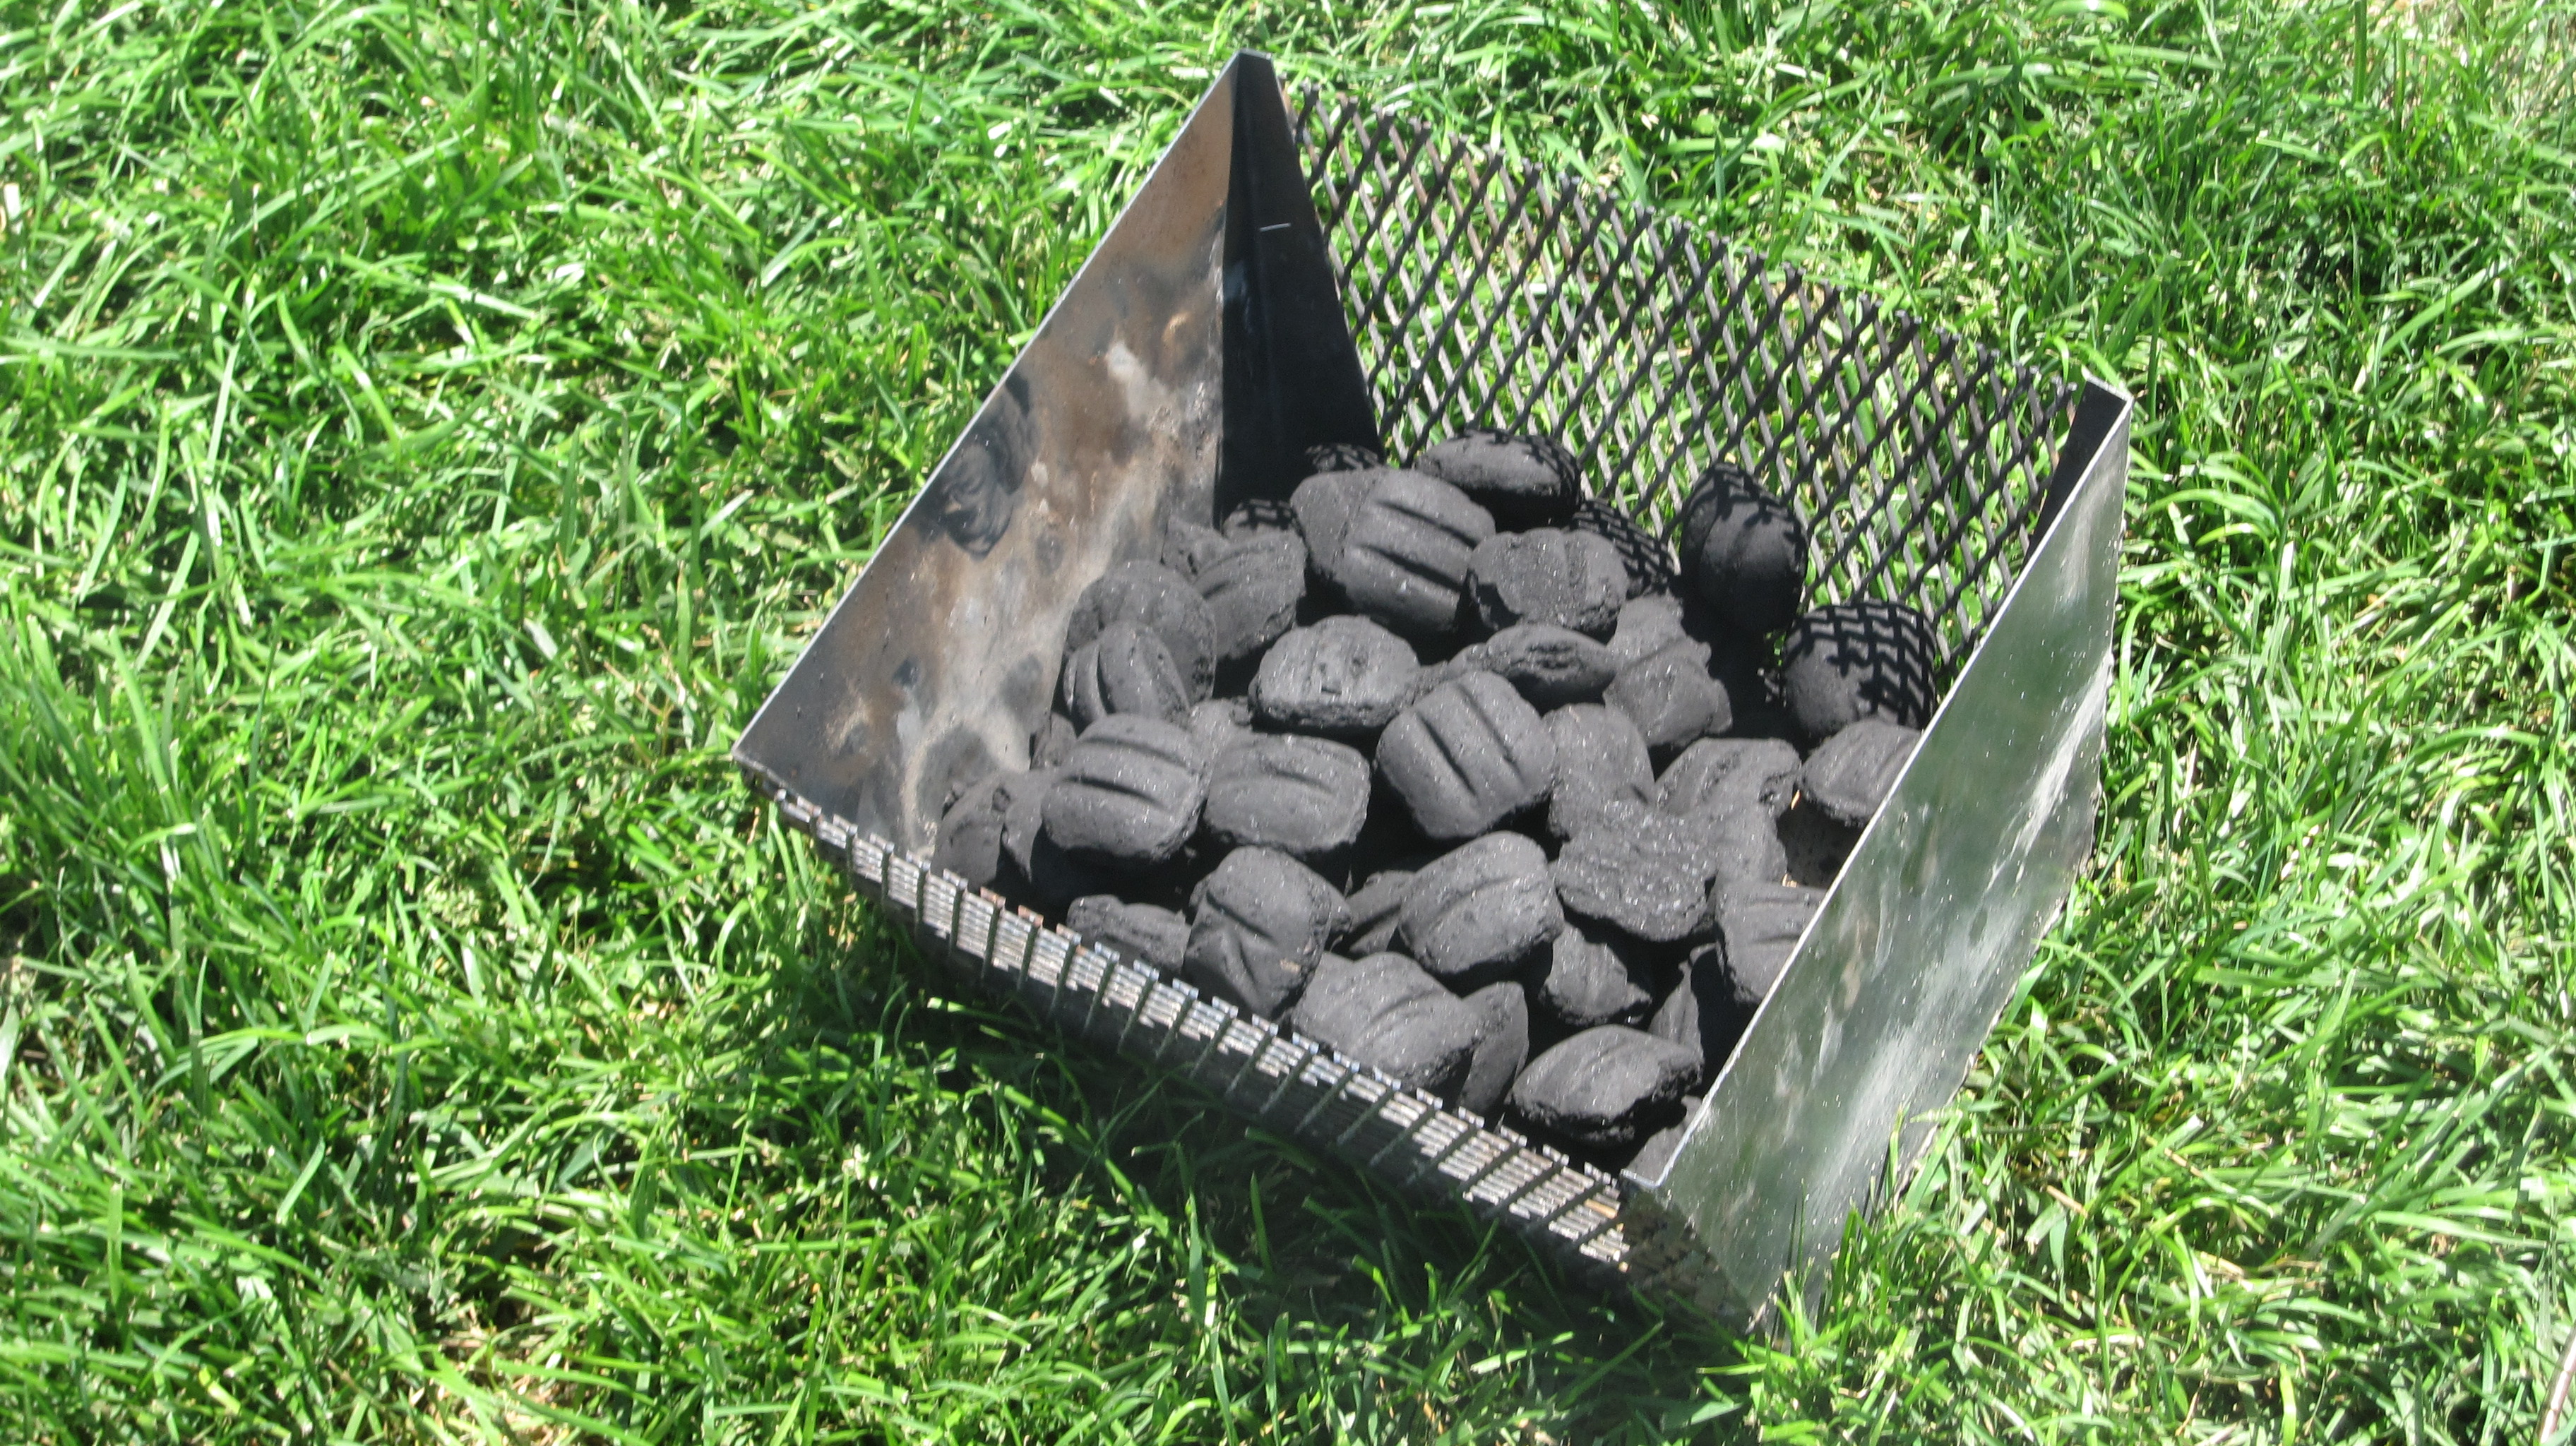 Now that’s a charcoal Basket!
Here is a look at the smokers first action, cooking up some whole chickens.
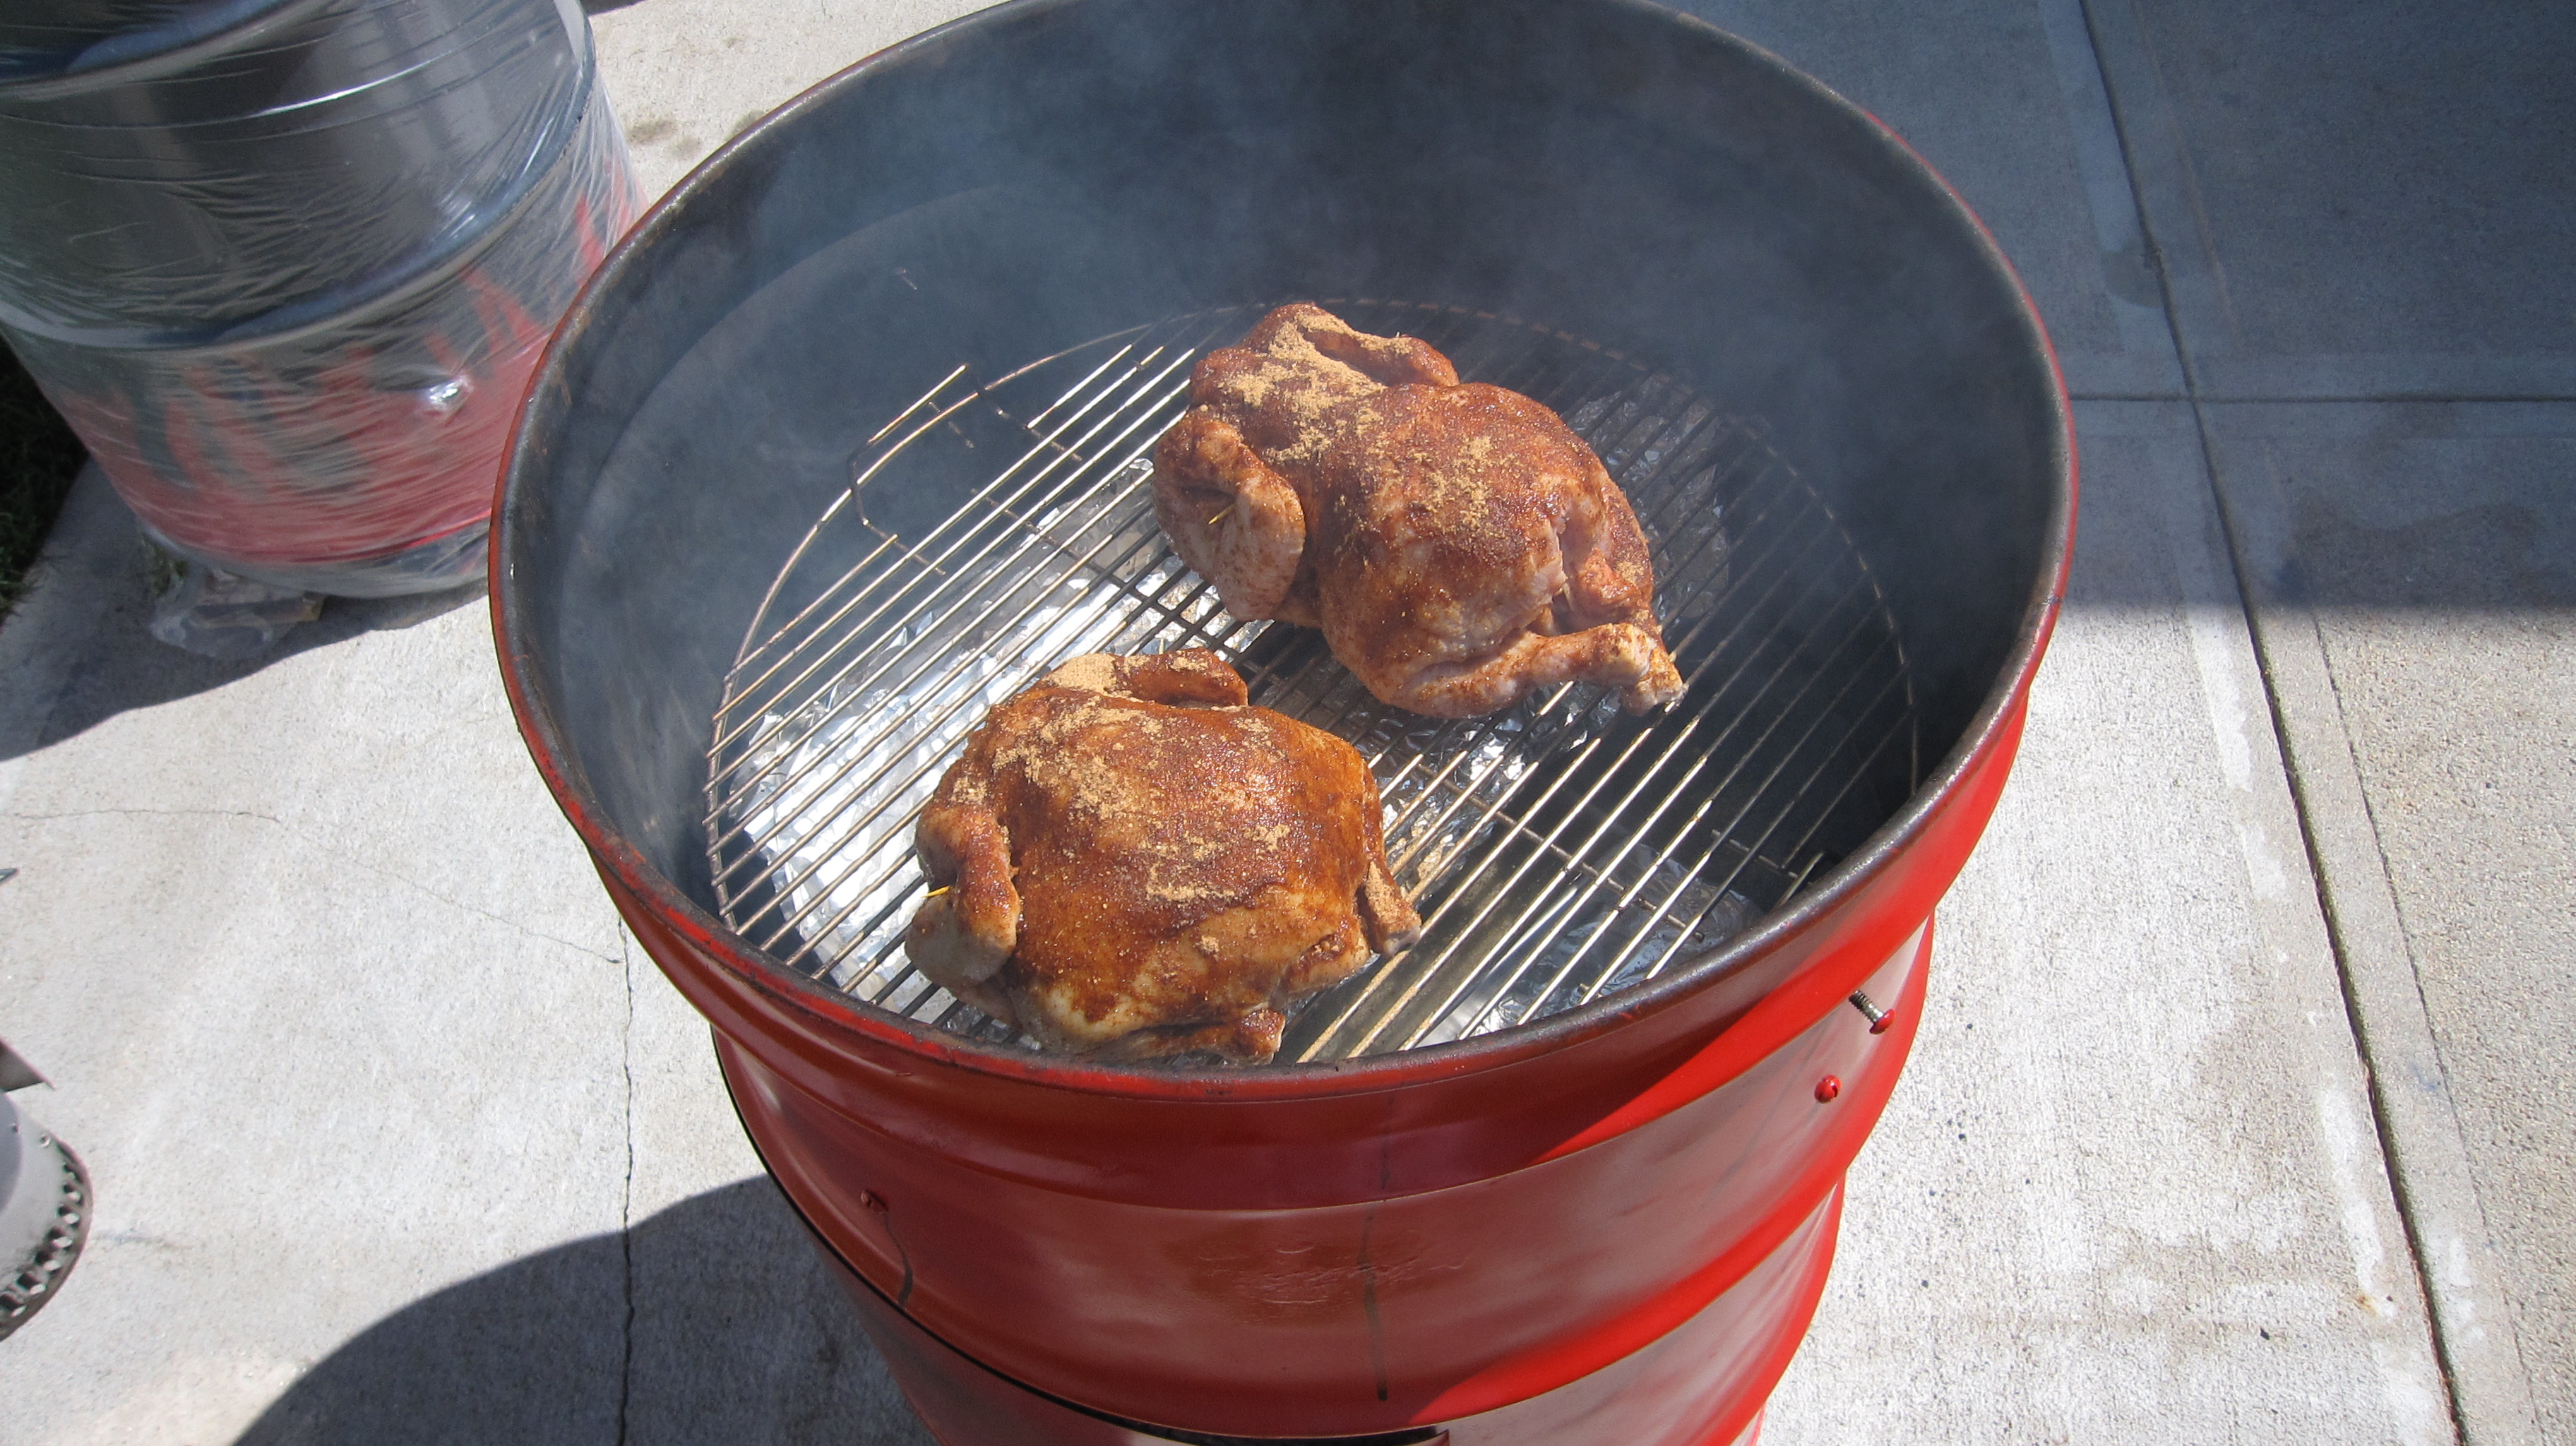 The bird is the word, in this case.
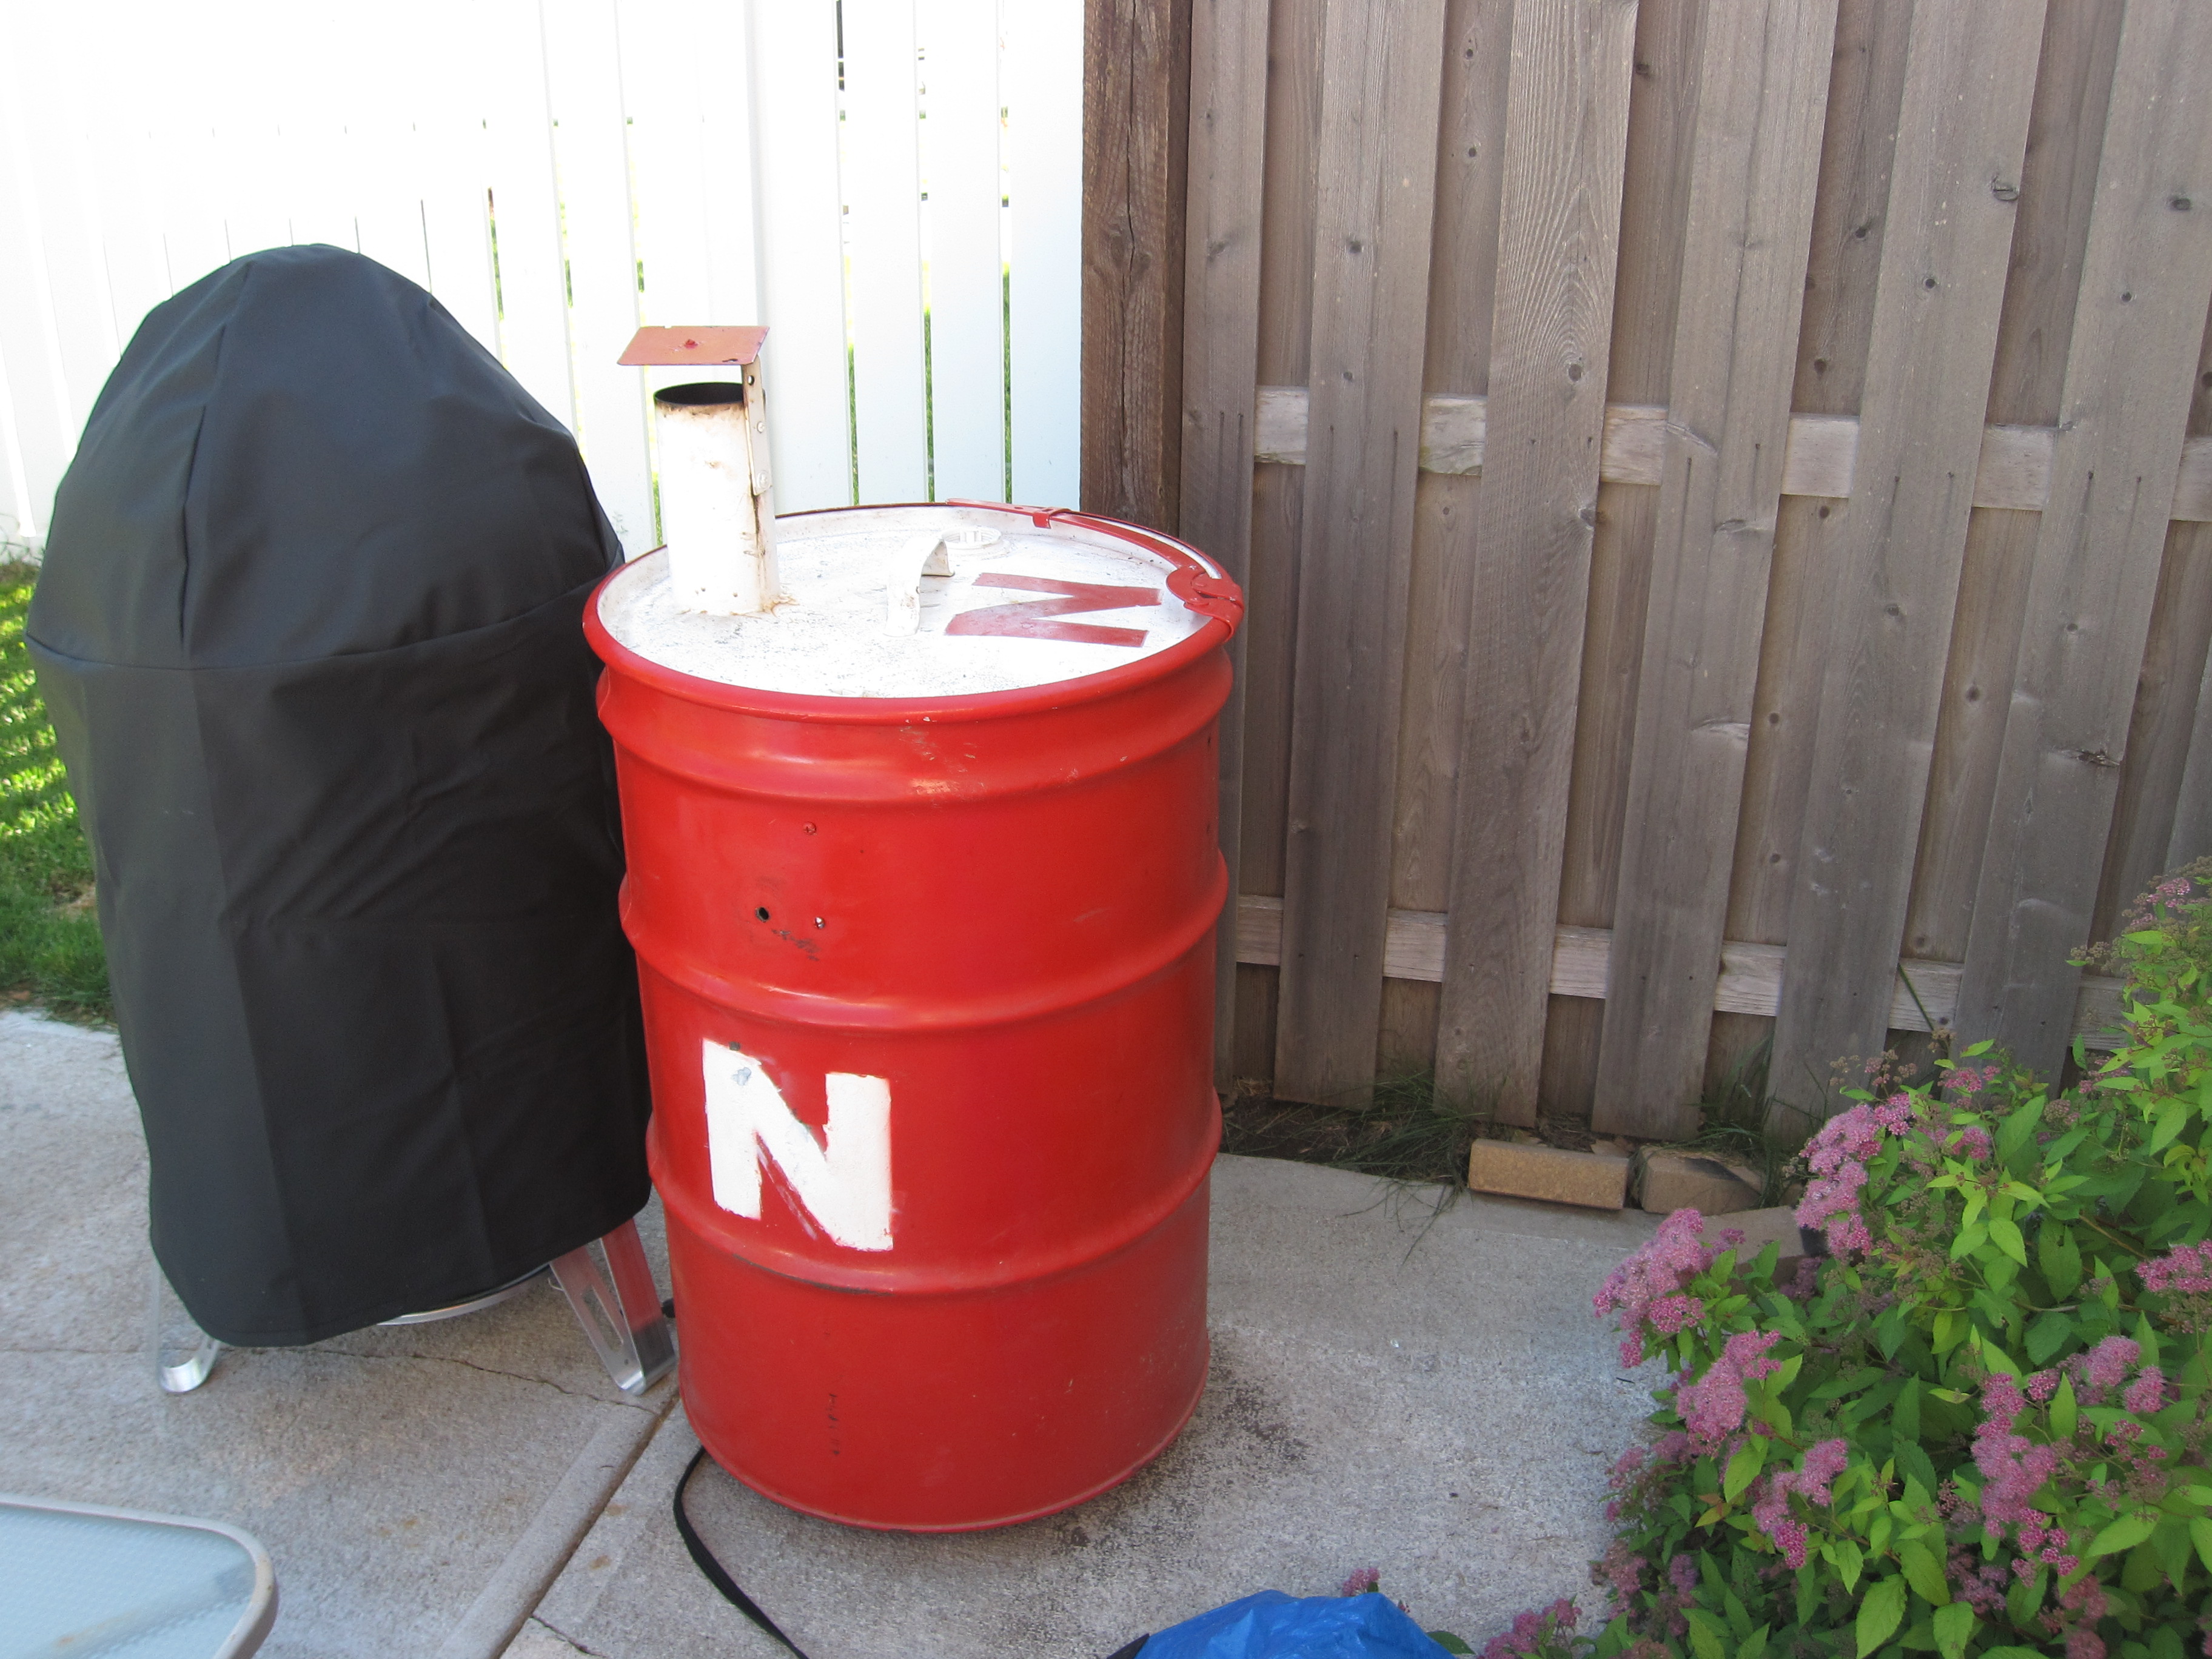 Barrel Smoker complete
The pros of this smoker are the ease of use and most importantly, the efficiency. The fire bricks really make this thing very fuel friendly. It is a very similar to the big green egg in that regard. It also responds very fast to adjustments to the vents, allowing for easy control of temperature. It cooks up some great chicken and ribs. We brought it to a competition and turned in the ribs we made on it. It can cook brisket and pork, but with only 1 shelf, that takes up all the space.
The cons are more abundant. The cost, when we finished, reach about $200 in materials. There were lots of little expenses like furnace gaskets, brackets, metal for the stack, diffusion plate, etc. The time was also a drawback. It just took too long to make a barrel smoker. These should be able to be constructed in a matter of a few hours, not a few days. It also requires welding, cutting, and fabrication, which can be frustrating. The other drawbacks are portability and space. It fits less than the Weber Smokey Mountain 18″ model. The fire brick and mortar make it close to 200 lbs when it is done. The casters help, but getting it to competitions or even through grassy areas is difficult.
Final thoughts: With a search you can find this plan on the internet. While the barrel does cook decent, I would gravitate toward a simpler, more portable design. After making this smoker, I can truly say I believe I can build a more efficient, better cooking, more portable, and cheaper smoker from a drum. In fact, I may do this in the fall and post the step by step instructions and results on here!
You must be logged in to post a comment Login