So, you love pizza – who doesn’t?? Well, I think if you follow the guts of this recipe and use your own favorite ingredients, you can make yourself a pizza that beats anything you can get at any chain, local or brick oven joint in your area.
Ingredients:
- 2 cups flour
- 2 tablespoons granulated sugar
- 1 tablespoon yeast
- 1 cup hot water
- 2 cups marinara sauce
- 1 whole chicken breast
- 1 package of pepperoni (we use turkey)
- 1 whole red bell pepper
- 1 whole tomato
- 1/4 red onion
- 1 whole ball of fresh mozzorella cheese
- some parmesan cheese and crushed red pepper to top your pizza when done if you want it
Directions:
Make your dough about 5 hours before you want to start cooking.
Here’s how:
- Combine yeast, sugar and warm water in a glass measuring cup. Mix gently and let sit at least 5 minutes until yeast activates.
- In a large bowl, add all the flour and using a spoon, form a ‘bowl’ of flour to pour the yeast mixture into.
- Once the yeast mixture is ready, pour it onto the flour and mix.
- Cover with a towel and let rest on the counter for 5 hours or more until it rises into a large pile of dough. (note: you can rest this in the fridge overnight if you prefer.)
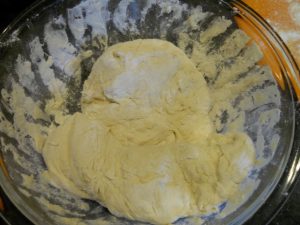
- After the 5 hours, begin kneading the dough with your hands, adding flour as needed so it doesn’t stick.
- I broke this mixture into 2 equal parts for two pizzas
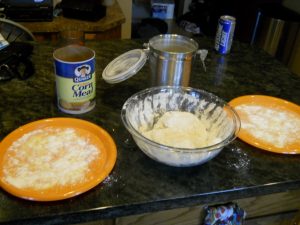
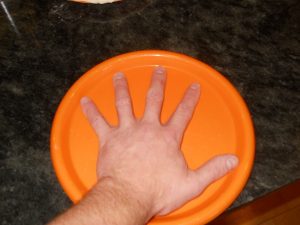
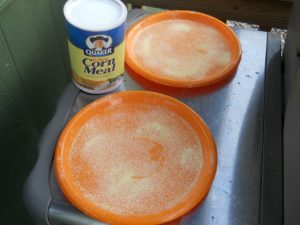
- Prep two ‘trays’ to begin forming your pizza crust. I used these plastic plates and sprinkled corn meal and a little bit of flour on them so the dough doesn’t stick. In the picture with my hand, you can get a idea for the size of the plate
- At this point, it’s time to preheat your grill. Preheat the grill so it’s about as hot as you can get it. My gas grill hits about 550 degrees and I like it that way. It needs to be plenty hot as the crust will go directly onto the grate. If it isn’t pre-heated enough, the crust will ‘melt’ into the grill and won’t firm up properly.
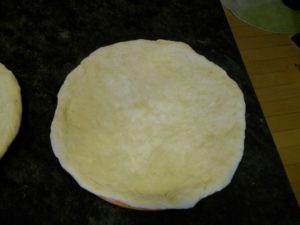
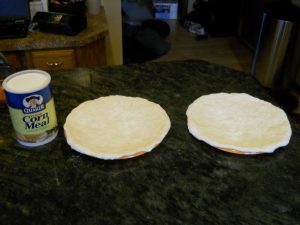
- Then begin spreading the dough onto the trays so they are completely covered, like so:
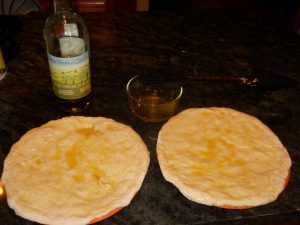
- Next, brush each crust with olive oil until completely covered. This is critical so the crust doesn’t stick to the grate on the grill
- Now you are ready to start grilling your pizza crust! It is a two step process. You’ll first grill the side you just oiled up, then you’ll be topping that grilled side with all the goodies you want. Once you have it all topped, you will grill the other side with the ingredients on it. Technically, you could do this process hours before you’re ready to top the crust – so if you are planning a dinner party and want everyone to have their own crust, you could make up all the crust to just past this next step and then let everyone top their own pie and grill them up two at a time, or however many fit on your cooker
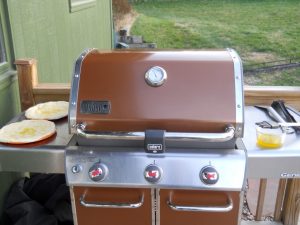
- You are going to need to oil the other side of this crust while it is cooking the previously oiled side. When you toss the crust on, this will be your only chance to do so because it’ll be flipped back over onto the plate. I prep my grill and bring everything out so it’s ready. Notice the bowl of oil and brush waiting on the right hand side before I put the crust on. Be prepared! These things cook quickly!
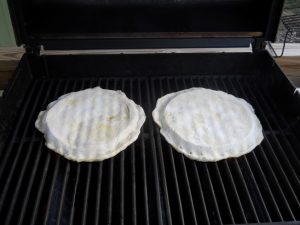
- Open your grill and then very quickly in one smooth motion, flip the plate upside down onto the grill, carefully removing the plate so the crust doesn’t come off with it (it might stick..just be careful and take your time removing).
- Then oil the side that is up and close the lid.
- While the crust is cooking, sprinkle some more corn meal onto your plates so the newly oiled side doesn’t stick when you return them to the plate.
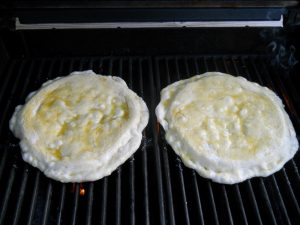
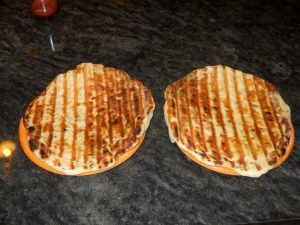
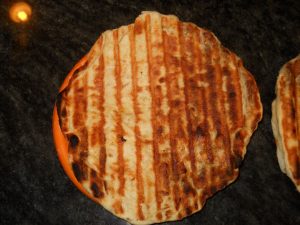
- Cook the crust for 3 – 4 minutes – TOPS – just until the crust begins to lose it’s flexibility and is easily moved around on the grill with a spatula. The sign to look for is that the top of the crust will begin bubbling. That means it’s almost done. Pry a spatually under there and look at the bottom until it is done like it shows in the pictures below. When you get it to this point, carefully flip the crust again and return it to the plates like so:
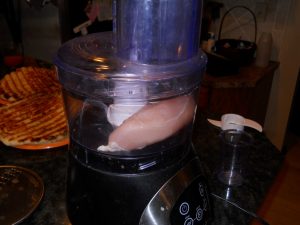
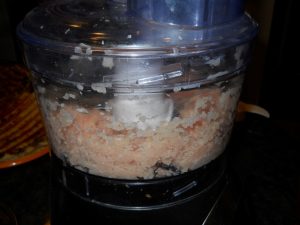
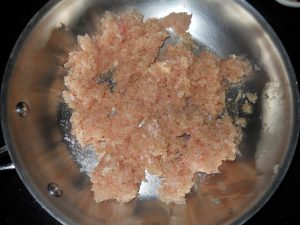
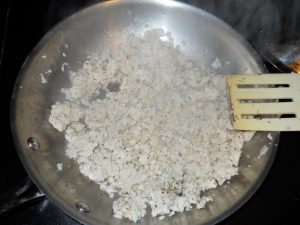
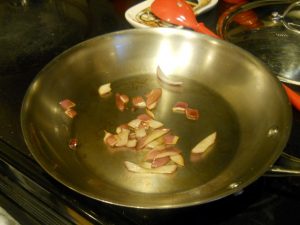
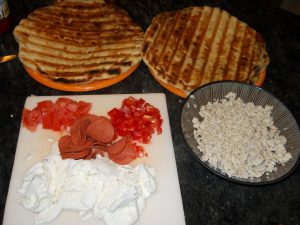
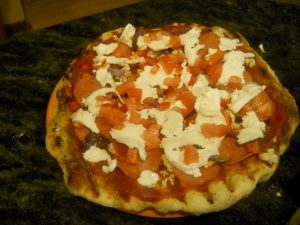
- Now you are ready to top! I used (1) ground chicken breast, which I ground up in a food processor so I know it’s fresh, then seasoned with italian seasoning and cooked in a skillet, turkey pepperoni, red bell pepper, sauteed red onion, chopped fresh roma tomatos, a marinara sauce I like and sliced fresh mozzerella cheese. Here are some pics of the ingredients and prep.
- Now you can top your crust with whatever you like!
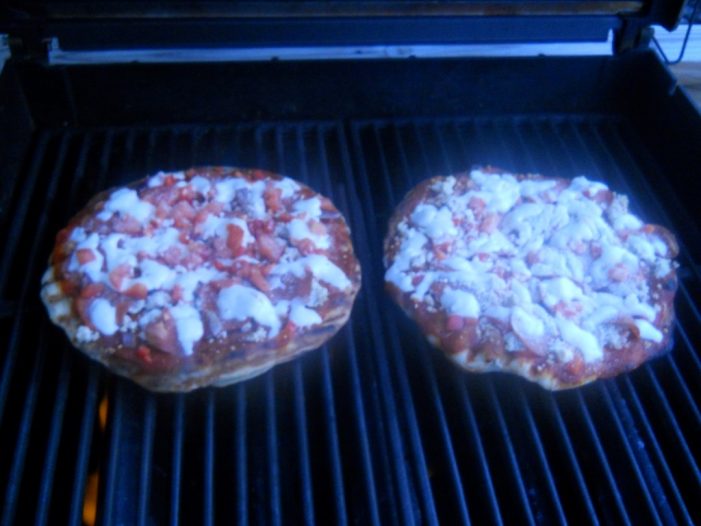
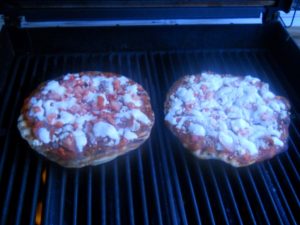
- Now that you have a ‘grill ready’ pie – let’s go back to your grill and finish these up! Again, it should still be as hot as you can get it – right around 550 degrees. Carefully slide them off the plate and grill for another 4 – 7 minutes or until the bottom crust looks just like the top did when you took it off. Another sign is that your pizza should be very stiff. This way you know it will slice up and can be handled without flopping around. The key is to get the crust extremely crispy on the top and bottom and using this method, it will be very chewy, moist and soft in the middle. Keep the lid closed as much as you can for the 4 – 7 minutes so the ingredients on top cook up and the cheese melts completely.
-
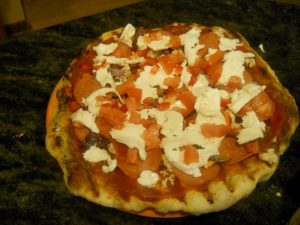
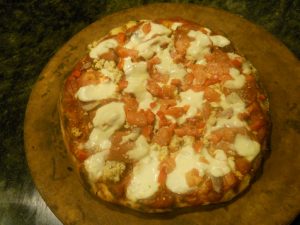
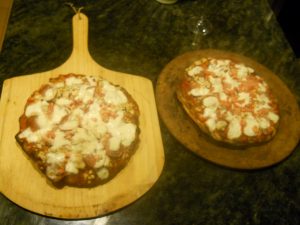
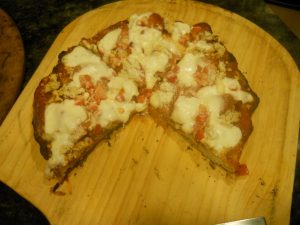
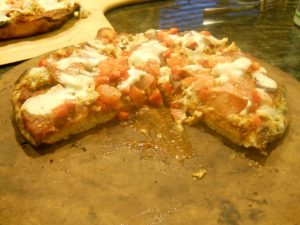
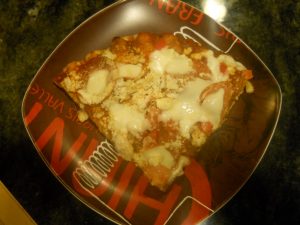
- After you feel like they are done, you are ready to eat! Transfer them to a cutting board of some type and slice away and enjoy! I think the rest of the post – the pics speak for themselves.
Best of luck with your Pizza cooking!

You must be logged in to post a comment Login