I was able to get my hands on something that I’ve been wanting to try for a very long time. The Kettle Pizza attachment unit for the 22″ Weber Kettle Grill! As you may know, pizza on the grill is one of my favorite things to cook and I’ve written a few articles about it here on BBQ Revolution.? Our family loves to eat pizza and I really don’t think there is any better way to eat it.
First and foremost, if you like pizza, and particularly, wood fired or grilled pizza, you need to do yourself a favor and pick one of these up ASAP. After running just a few ‘tests’ on this unit, I am convinced I could put my product against the best pizza joints in Omaha and there are some good ones here. The final product is simliar to what you’d get for $13 (cheese only)- $20 (a few topppings) for a 14″ pizza at a fine wood fired pizza joint, only it tastes just as good, if not better, and it’s a fraction of the cost, with as many toppings as you’d like – PLUS – you’ll love it even more because YOU cooked it and know exactly what is in it!
If you can’t tell, I love this thing and I decided ‘why wait’ to tell you what I think until the end of the review. Read on and get all the details about how it comes packaged, assembly, recipes and how to cook on it – but you may want to go order one first at Kettle Pizza so it’s on the way. When you finish reading this, you’ll want one immediately.
I couldn’t wait for the Kettle Pizza to arrive and when my wife told me it was at the door step, the first thing I wanted to do was to come home and try it out. However, for the sake of this review, I thought I’d take some time to explain how it came in the package and assembly so you know what to expect and can be ‘locked and loaded’ the minute yours comes to your door.
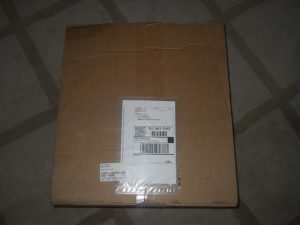
Here’s the box it arrived in. I felt like Ralphie in the Christmas Story with the Red Rider BB gun opening it.
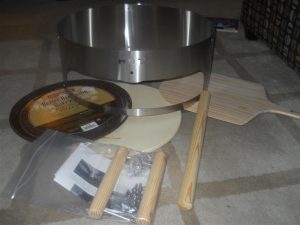
The contents looked nice and professional and were in perfect shape and included instructions, a wooden pizza peel, a stoneware pizza pan, a pizza stone, the stainless steel ring, a thermo, handles for the stainless ring and the hardware and a nice wooden rolling pin. I kind of thought the rolling pin would take a back seat to my expensive kitchen aid rolling pin, but it RULES. It’s nice and long and works much better than the kitchen aid in terms of the dough sticking.
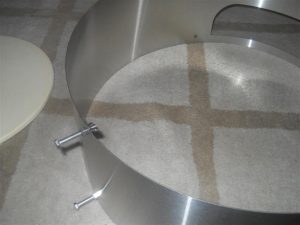
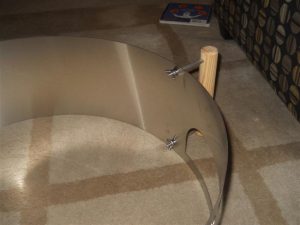
To assemble, you don’t need any tools. Simply attach the 2 stand off bolts to the stainless steel ring with the wingnuts inside the ring, and the same for the handles, just like the pic below. The kettle lid will be resting on the top bolt, along with the two handles and provide good support. The bottom bolt and handles will rest on the base of the kettle and also provides good support. The bottom wingnuts, inside the ring, will be the support for the kettle grate that will hold the pizza stone.
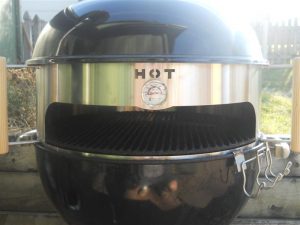
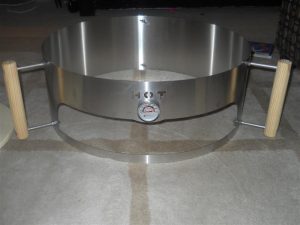
Once you’ve attached both bolts and the two handles, attach the kettle pizza thermo the same way, right below the nifty ‘HOT” sign on the front of the unit. Here’s the finished assembly….easy peasy. Took me about 3 minutes, including picture time.
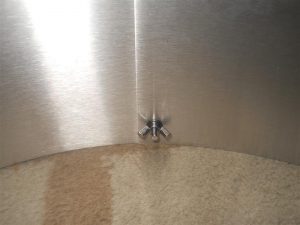
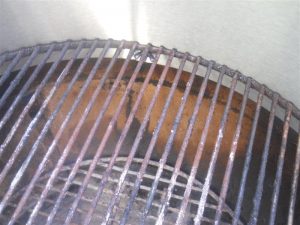
Remember, the wingnut on the inside of the ring is going to support the kettle grate.? Turn all of them horizontal, like the pic below and then set the grate inside and place the entire unit on top of the kettle base, like the other pic below.? You are almost ready!
Here’s a recipe and some pics for what we?do in our house. The crust recipe is the same for all pizzas and we put our favorite toppings on it. Be creative and do what you like.
For the dough, you’ll need the following ingredients per pizza:
- 1 1/2 cups of all purpopse flour
- 3/4 cup of hot water
- 2 tablespoons of granulated sugar
- 1 tablespoon of active dry yeast
To make the dough:
- Put the hot water in a measuring cup, along with the sugar and yeast.
- Mix with a spoon until it is all dissovled and let set for five minutes
- Put the flour in a large bowl and form a crater in the center
- Pour the hot water / sugar / yeast mixture into the crater and mix with a fork until all the flour and water is blended well
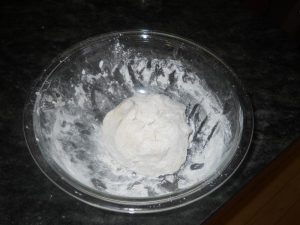
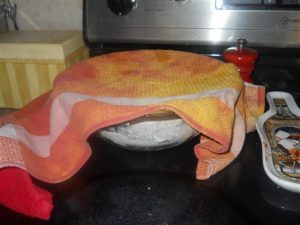
- Cover with a cloth and let set aside for about 5 hours, so the dough rises.
Here are a couple pics for the dough:
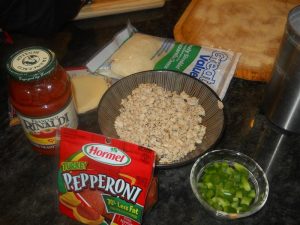
While that is resting, you can prep all the rest of your ingredients. Here are just a few we used and the videos will show a few more. Below you can see the cheese, ground chicken, pepperoni, sauce and green pepper.
Once the dough has rested for 5 or more hours, you’ll have to knead the dough so it is stretchy. Using your fist, simply punch the dough down many times (over 25) and add flour along the way so it isn’t sticky. It also makes it easier.
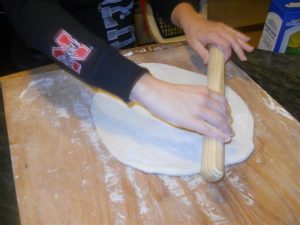
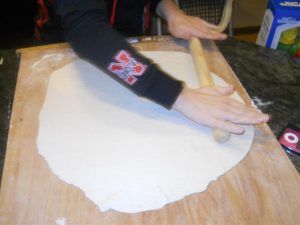
To roll out the dough, flour a large cutting board or smooth surface and use the wooden rolling pin that came with your unit, like so:
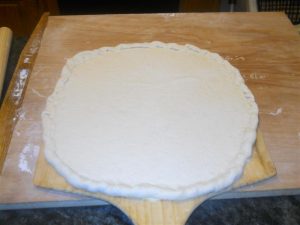
Next, take your pizza peel and cover it with corn meal so the dough will slide off easily when putting on the kettle and then?transfer the dough to the peel and form your edge crust like so
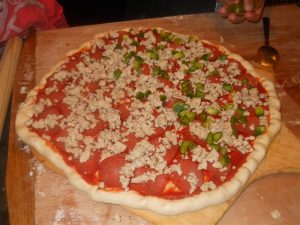
Now you can top it with whatever you’d like! Here is one of our pizzas pre-cook:
We’ll get to the setup and cook videos in just a minute, but first I wanted to point out a few things for prepping your kettle that I learned:
- Start with a fully lit chimney starter completely full of coal.
- Place the lit coals at the back of the kettle, away from the opening.
- You must use real wood to get temps above 500.? I used a pecan / pear mix.
- You must make sure that the pizza stone is fully up to temp to avoid the dough sticking. I use water drops to test if the stone is hot enough. If water sizzles when you toss it on the stone and disappears quickly, you are all set.
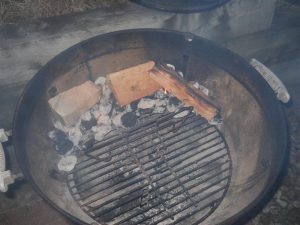
Here you can see where I placed the coal and wood:
In this video, you can see all the steps I take to getting the kettle ready for a cook, which should tie everything together for you:
Finally, this next video will show you how amazing the Kettle Pizza is by demonstrating in a non-stop video, a full pizza being cooked in just over 4 minutes:
Here are a couple of our finished pizzas. We had a New Year’s Eve party this year and churned out many of these and the entire thing was a hit! From the cook itself (everyone had fun watching) to the eating (everyone LOVED the pizza).
The bottom line on this product: BUY IT! It works better than advertised and is the perfect home pizza making device. Honestly, if I were to open a pizza restaurant, I’d love to have a way to run a whole bunch of these to turn out pizzas for the customers.
It is amazing and worth every penny.
As always – let us know if you have any questions on how to run this unit @ info@bbqrevolution.com





You must be logged in to post a comment Login